
Only eat these burgers once in a while
- Joanna

- Jun 8, 2020
- 3 min read
Ready in 40 mins | makes 9 portions
I made these burgers flavourful, not healthy... after all I'm clearly not vegan 😜 These will clog your arteries. Work out for a whole day after eating these. You have been warned. Also, read through this whole thing before trying it out. Also I'm sorry about not posting even an attempted artsy pic, I forgot to take one, the burgers just smelled too good...

Ingredients
1 kg lean ground beef
1 cup of bacon, chopped (look for lower fat content packs)
2.5 tsp paprika
2 pinches oregano
4 cloves minced garlic
2 tsp hickory smoked salt (or regular salt works if you don't have that handy)
1 tsp ground mustard seeds
3 small onions finely diced
1/2 fresh lime juice
some splashes woostershire sauce (however the heck you spell that)
2 large eggs
1.5 loose cups smoked cheese, sliced
9 toasted pretzel buns
Butter
Optional: pickles, green olives, condiments, extra sliced cheese etc...
Directions
Trim off any excess fat from the bacon, leave the inner fat intact. Chop as finely as possible.
In a large bowl, mix the beef and bacon with the spices and aromatics (the paprika, oregano, garlic, salt, mustard, onion, lime, woostershshshire, and egg.)
Roll into portions between 150-160g. Flatten as thin as possible, and evenly divide the cheese throughout all patties, placing in the center of each. Cover up the cheese by rolling the surrounding meat over it. Ensure that it's proeprly sealed in by pinching any areas to join the patty completely - you don't want any cheese melting out of the burger while cooking it! Freeze any excess portions immediately.
Preheat your grill to 450°F. I like to use grill mats (you can find them on Amazon or Ebay, they prevent food from getting stuck on the grill or grease falling through and making a burst of flames.)
Cut the pretzel buns in half.
Once hot, place the patties directly on the mats. Don't flip until the underside is properly browned - get those grill marks it just tastes a whole lot better, trust me - this takes about 2-3 mins. Oh and keep the bbq closed as much as possible, you don't want all the heat escaping - burger's gotta cook on the inside too.
Optional: if you really wanna clog your arteries, add extra sliced cheese on top of the burger now.
Once the flip side is browned and grilled like the top side, close the grill for 2 mins. Don't, AND I MEAN DO NOT use a meat thermometer - you'll pierce the burger you tried so hard to seal up and all the cheese will come oozing out and you don't want that! Just trust me with the timings - or if you're a bit more experienced, tap the burger in the center and edges with the tongs and make sure it's not so squishy like the raw beef, but it shouldn't be rock hard like a hockey puck.
When the 2 mins is up, take the burgers off and let them rest! Yes God gave us a rest, so rest must be important - in this case it's to lock the juices into the burger so it doesn't get all dry and gross.
Butter the cut side of the bun a little bit and place that side down straight on the mat. Toast until you get grill marks.
Serve looks by putting spinach on the bottom bun, then put the burger patty, then the top bun, and put the pickle and olive on a toothpick and put that on top of the burger. I personally don't like that, but it serves looks along with the flavour.
If you're making these from frozen leftover portions - thaw to room temperature and grill with the above instructions.


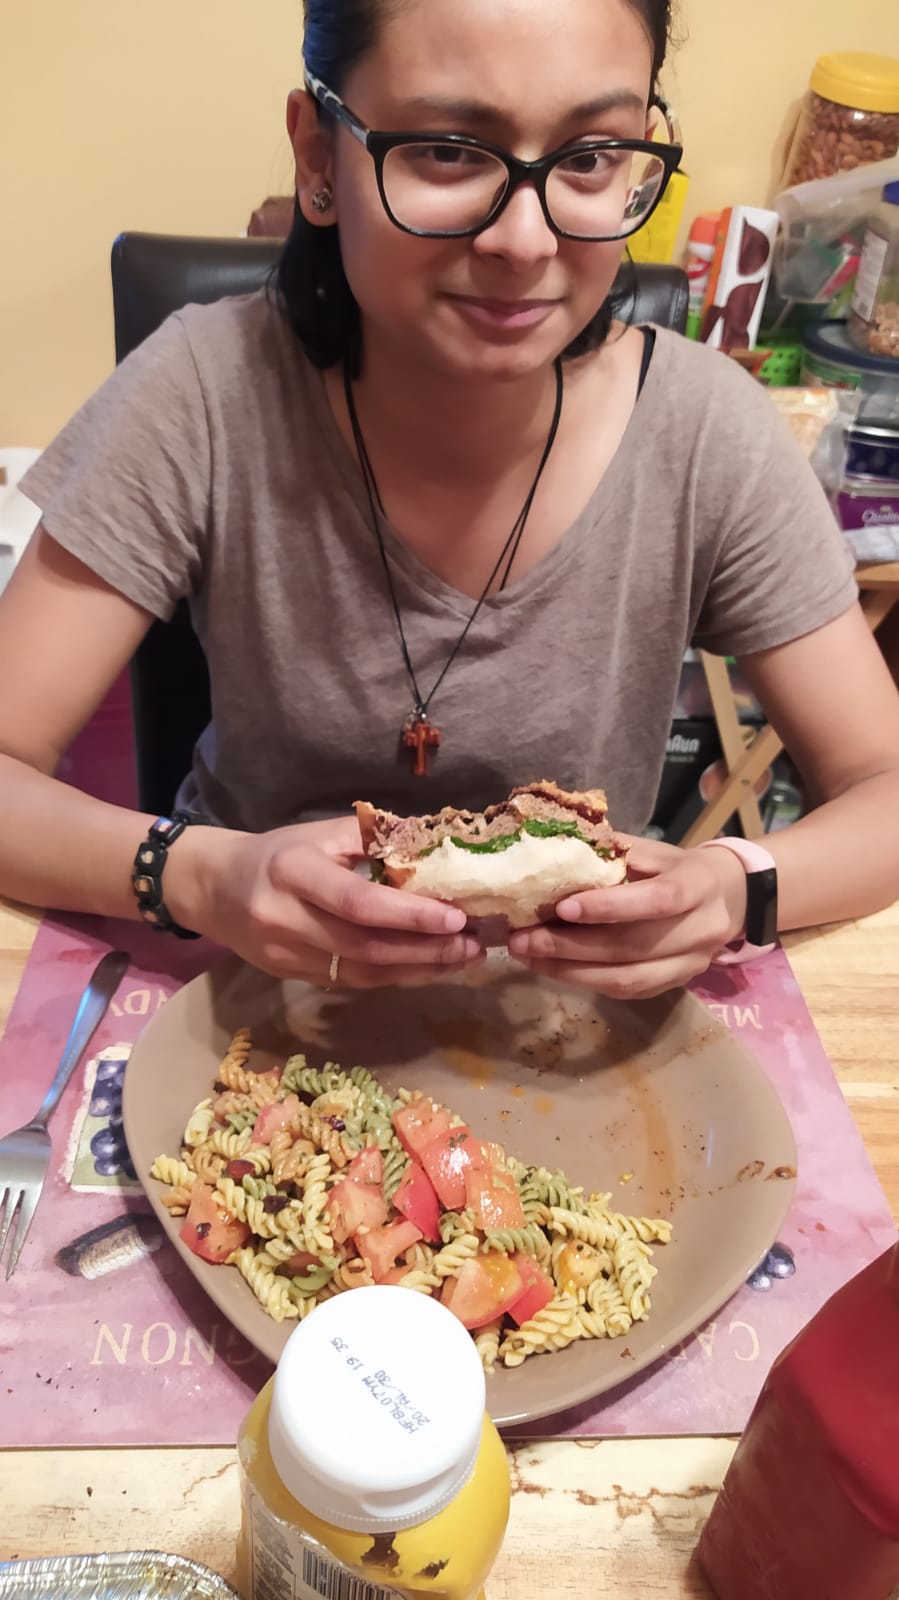


As you can see I didn't properly seal the burgers so cheese came out - it was a very sad sight. Also these are pictures my mom took, I was too hungry and ate the food, then I remembered oh shoot I didn't take a pic for the blog errrgggggg


Comments